Those harmless-looking corners? They’re not always so harmless
When my daughter first started trying to roll in her sleep, I didn’t worry too much about the crib. The mattress was firm, the slats were safe, and everything was tucked in just so. But one morning, I found her wedged right up against the wooden edge of the crib, red mark on her forehead and all. That was my wake-up call: even sturdy, certified cribs have corners that can turn into hazards once a baby starts moving with purpose.
It’s not about panicking over every bump — babies are tougher than we think. But when those little heads start making contact with hard wood night after night, it can get uncomfortable for everyone. And while padded bumpers have (rightfully) gone out of style due to safety risks, that doesn’t mean we have to do nothing.
Safety isn’t about wrapping everything in bubble wrap. It’s about knowing where the real risks lie and addressing them without creating new ones.
So let’s talk corners, edges, and everything in between — from what’s genuinely helpful to what just looks nice on Pinterest.
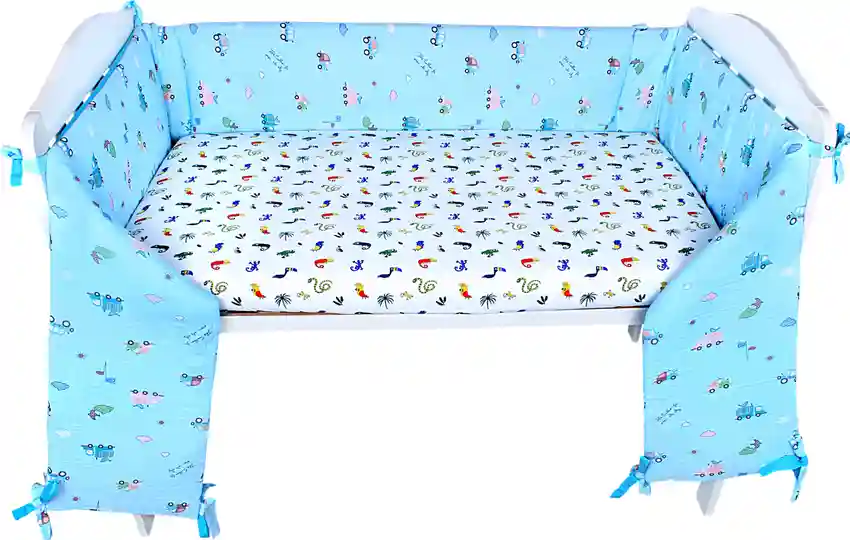
The truth about commercial edge protectors
When I first searched for corner protection, the options were endless: soft silicone covers, foamy wraps, sticky tape versions, sets that promised “total crib padding” in pastel colors. But as with many baby products, the look doesn’t always match the function.
Some protectors are marketed as “gentle” or “non-toxic,” but once you peel back the branding, it turns out they use adhesives that don’t last or materials that harden over time. A few options even fell off overnight — exactly when I wanted them most secure. And honestly, watching your baby chew on something meant for furniture edges (that smells vaguely like rubber tire) is not very reassuring.
That said, not all store-bought protectors are bad. Look for ones that:
- Attach without relying solely on glue — think straps or tension-based design
- Have independently verified safety certifications
- Can be removed and cleaned easily
If a product makes your crib harder to clean or introduces more choking hazards than it solves — it’s not a win, no matter how pretty it looks.
DIY versus off-the-shelf: what makes sense?
After a few disappointments with sticky protectors, I went back to basics. I used a soft cotton swaddle (one that had already been washed a dozen times) and carefully wrapped the top rail where she kept bumping her head. I tied it off with thin, tight bows on the outside of the crib bars — totally out of her reach.
It wasn’t the cutest solution. It definitely wouldn’t go viral. But it worked. She stopped waking up with little red lines on her cheeks, and I didn’t worry about loose plastic bits in the middle of the night.
Sometimes DIY just makes more sense, especially when:
- You already have soft, breathable materials at home
- Your baby is still young and not climbing or pulling
- You want something temporary and easily removable
Of course, once she got more mobile and started standing, I ditched the fabric wrap. It had served its purpose — and we were onto new challenges by then.
So… does every crib need edge protection?
Not necessarily. Some cribs have smooth, rounded rails and corners built into their design. Others are more angular, with edges that jut out — especially in convertible cribs meant to transition into toddler beds later. The need for protection depends on how your crib is built and how your baby moves in it.
For us, the tipping point was when our daughter went from stationary sleeper to “I’ll nap upside-down if I want to.” That’s when bruises started to appear, and we knew it wasn’t just teething causing the wake-ups.
Watch your baby for a few nights. If they consistently bump the same spot, that’s your sign — not the product ads.
On the other hand, if your little one sleeps curled in the center of the mattress and rarely touches the sides, there’s no need to rush into buying or wrapping anything. Let the crib work the way it was designed to until your baby tells you otherwise — usually with a head bump.
The fix that finally worked in our home
What ended up helping most was adjusting the way we laid her down. We started placing her more toward the center, at a slight angle, rather than straight on her back right next to a rail. That one small shift — plus a breathable, no-frills rail cover — solved 90% of the issue.
We didn’t stick to one method forever. As she grew, we re-evaluated. We added a little padding when needed, removed it when she began pulling up, and always kept airflow in mind. That’s the beauty of flexible parenting — nothing is static, and you don’t have to get it all right from day one.
Sometimes the safest setup isn’t the most expensive — it’s the one that fits your baby, your crib, and your gut instinct.
And if there’s one takeaway I’d offer? Don’t ignore those tiny signs — the new sleep disruption, the odd little bump, the fussy wake-up that doesn’t match teething. Crib corners might seem like a small thing, but in our house, addressing them helped us all sleep better.
Useful adjustments that stay with you
Protecting crib corners isn’t a one-size-fits-all process — and it’s not forever. Babies grow. Needs change. What matters is keeping an eye on the details that impact your child’s sleep, comfort, and safety, even when the marketing noise is loud.
Trust your instincts, simplify where you can, and remember: your baby doesn’t care what it looks like, only how it feels.

