Why Assembly Deserves Your Full Attention
There’s something uniquely nerve-wracking about opening a flat-pack box labeled “crib.” I remember one mom I worked with who texted me in a panic: “It has 27 screws and no words in the manual!” It might seem like a basic chore, but assembling a crib is the moment when the safety of your baby begins—quite literally—at the foundation.
The stakes feel high because, well, they are. This is where your little one will spend hundreds of hours sleeping, stretching, and maybe chewing on the rail (yes, that happens). A crib that’s not correctly put together can squeak, wobble—or worse, be unsafe. But the good news? With a bit of patience and a few quiet hours, it’s absolutely manageable.
Always choose a flat surface, good lighting, and uninterrupted time for crib assembly. It’s not a task to squeeze between laundry loads.
I always recommend checking the manufacturer’s website for video instructions if the paper version looks like a puzzle from another planet. Sometimes just watching someone else do it once gives you the clarity you need to follow through safely.
Understanding the Manual (Even If It Makes No Sense)
Some manuals assume you’re a trained carpenter. Others go to the opposite extreme and leave out critical steps. If yours feels confusing, don’t be discouraged—it’s not you, it’s them. A good first step is to do a parts check. Lay everything out and match each piece to the images or list in the manual.
This sounds boring, I know, but it prevents the nightmare of realizing you’ve put something in backward 20 minutes in. One dad I worked with skipped this step and ended up dismantling the whole frame because the mattress base was upside down. Let’s save you from that.
Look out for parts that seem “almost” symmetrical. Crib components often have a top and bottom that differ by a few millimeters—and that’s enough to mess everything up later.
Also, don’t be afraid to mark the pieces with stickers or painter’s tape as you identify them. Some manuals do this already, but if yours doesn’t, a few labels can go a long way.
The Mistakes You Can Totally Avoid
One of the most common errors I’ve seen is skipping the stabilizing bar or not tightening bolts enough. Creaky cribs usually mean something wasn’t snug. And don’t rely on strength alone—hand-tightening screws might feel secure, but they’ll likely loosen over time.
If your crib has wheels or a drop side (yes, they still exist, though less common), double-check that everything locks properly. I once visited a family where the wheel lock looked engaged but didn’t click all the way. The entire crib could roll with a little push. Not ideal for a wiggly baby practicing standing up.
Use the right tools. Some cribs come with their own hex key or wrench, but I always keep a real screwdriver nearby. It saves your hands and gives better control over tightness.
Avoid power tools unless the manual says it’s okay. They can strip delicate parts and lead to instability that you won’t notice until much later.
Should You Ask for Help?
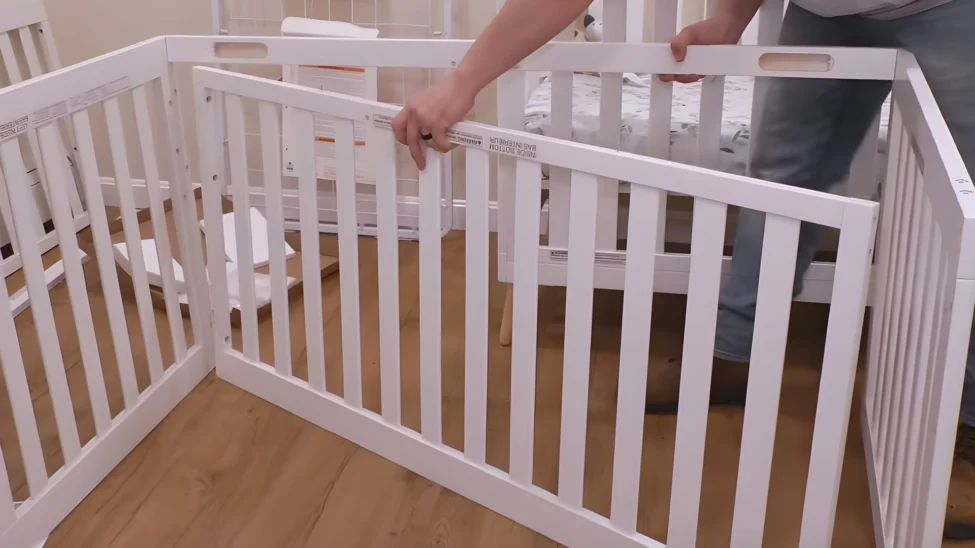
You don’t need to turn crib assembly into a family affair—but having a second set of hands can be a game changer. Especially during steps where you need to hold one piece steady while attaching another. If you’re working alone, try using boxes or books to prop things up.
One mom told me she used canned soup to stabilize a crib panel while she screwed in the base. It worked. Do what you’ve got to do. The important thing is not to rush or skip steps just because you’re juggling everything solo.
But if your partner, friend, or even your neighbor can lend 30 minutes, take it. It’s easier, faster, and way less frustrating than trying to balance three boards and a drill in your lap.
Teamwork isn’t just about speed—it’s about reducing the margin for error, especially when it comes to baby gear.
Time for the Safety Check
Once everything is put together and looks sturdy, stop and double-check each connection. Try wiggling each side gently to see if anything shifts. Go over each screw and bolt again to make sure nothing has loosened while you worked.
If your crib has adjustable mattress levels, confirm it’s locked in the lowest position suitable for your baby’s age. Also, make sure there are no leftover tools or packaging hidden inside the crib base or under the mattress.
Finally, give it the parent test: press down firmly on the mattress and pull slightly on the sides. It should feel like a single solid piece of furniture. No squeaks. No shaking.
You should be able to sit beside the crib at night, hand on your baby’s back, and feel at peace. That’s how you know the job’s done right.


